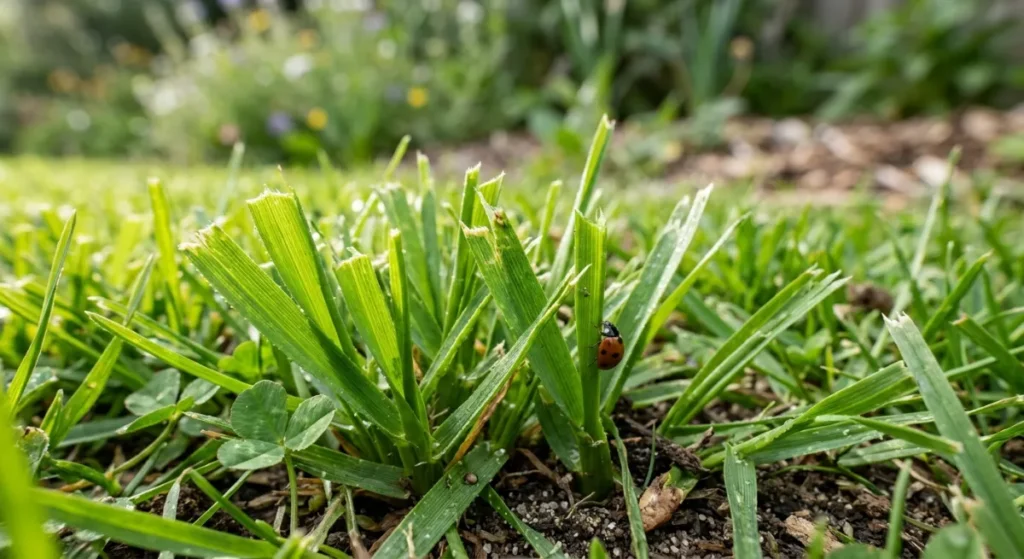
Auckland’s unpredictable weather can be brutal on residential lawns. Between the heavy, boggy downpours of winter and the baked, cracking clay soils of summer, maintaining a pristine patch of green is a constant battle. The high humidity also invites fungal diseases, while local pests like grass grub can decimate an entire yard in a matter of weeks.
Many homeowners find themselves staring at ugly bare patches, thinning turf, or areas destroyed by family pets. The frustration of spending weekends trying to revive dead grass with little to no success is a common narrative across the region. Without the right knowledge, it is easy to waste hundreds of dollars on premium seed that never sprouts.
However, restoring your property’s street appeal does not require a landscaping degree or expensive commercial equipment. Finding reliable Lawn Repair & Reseeding Advice from About Auckland Lawns is the first step toward transforming your outdoor space from a muddy eyesore into a lush, resilient carpet. By understanding your local soil conditions and timing your efforts correctly, you can achieve professional-grade results on a budget.
Key Takeaways
The best time for lawn repair and reseeding in Auckland is early autumn or mid-spring. Success requires aggressive soil aeration to combat clay compaction, selecting deep-rooting seed like Tall Fescue, and maintaining strict daily watering schedules until the new grass reaches 6 to 8 centimeters.
Quick Answer: How to Repair and Reseed a Damaged Auckland Lawn Successfully
Restoring a damaged lawn requires a combination of precise timing, thorough soil preparation, and selecting the correct seed variety. The optimal time for reseeding in Auckland is early autumn (March to May) or mid-spring (September to November). During these transitional seasons, the extreme weather patterns tend to stabilize, creating the perfect nursery environment for fragile seedlings.
During these seasonal windows, the soil temperature is warm enough for fast germination, while the frequent natural rainfall reduces the need for constant manual watering. Sowing seed in the peak of an Auckland summer usually results in burnt, dehydrated seedlings. Conversely, winter sowing in heavy clay often leads to seed rot and fungal issues due to poor drainage.
The most effective turf restoration approach begins with clearing away the dead vegetation and aerating the compacted soil beneath. Once the ground is properly prepped, applying a high-quality seed blend and a specialized starter fertiliser provides the necessary macronutrients for rapid root establishment. Taking shortcuts during this phase is the primary reason most DIY lawn repairs fail.
The optimal time for reseeding in Auckland is early autumn (March to May) or mid-spring (September to November). The soil is still warm from summer, but the blistering afternoon heat has passed.
Lawn Repair Methods: Spot Patching vs. Full-Section Overseeding Comparison
When approaching turf restoration, you must first assess the scale and severity of the surface damage. Minor aesthetic issues require highly targeted fixes, while widespread thinning demands a much broader, comprehensive approach. Understanding the difference between spot patching and overseeding will save you significant time and manual labor.
Spot patching is ideal for isolated bare patches caused by dog urine, heavy foot traffic, or localized pest damage. This targeted method involves digging out the specific damaged area, replacing the contaminated topsoil, and densely seeding the small zone. As detailed in our Property Manager Success Stories, it is a quick, cost-effective way to repair minor blemishes without disrupting the rest of the yard.
Overseeding, on the other hand, is a preventative and restorative technique used across the entire lawn surface. It involves spreading seed directly over existing grass to thicken the turf, choke out invasive weeds, and improve overall color density without tearing up the yard. This method is highly recommended for older lawns that have naturally thinned out over the years.
| Feature | Spot Patching | Full Overseeding |
|---|---|---|
| Best Used For | Isolated bare patches, dog urine burns, divots | Overall thinning, widespread weed invasion, old turf |
| Soil Preparation | Dig out damaged topsoil, replace with fresh compost | Heavy scarification, core aeration, light topdressing |
| Seed Application Rate | Heavy/Dense (approx. 50g per square meter) | Light/Moderate (approx. 25g per square meter) |
| Recovery Time | 3 to 4 weeks for full aesthetic integration | 6 to 8 weeks for complete lawn transformation |
Step-by-Step Turf Restoration: Soil Preparation, Aeration, and Seed Sowing
The foundation of any successful grass establishment lies entirely in the physical preparation of the soil. Throwing expensive seed onto hard, compacted ground is a guaranteed waste of time, effort, and money. Seeds require a soft, nutrient-rich bed to push their delicate roots into.
Begin by aggressively raking the damaged areas with a metal garden rake to remove thatch, dead grass, and organic debris. This process, known as scarification, exposes the bare soil and ensures the new seeds can make direct physical contact with the earth. If the seed gets caught in the dead thatch layer, it will dry out and die before germinating.
Next, you must address severe soil compaction, which is incredibly common in Auckland’s heavy clay environments. Use a core aerator or a manual garden fork to punch deep holes into the ground, allowing vital oxygen, water, and nutrients to penetrate the root zone. This mechanical aeration relieves surface tension and encourages deep, drought-resistant root growth.
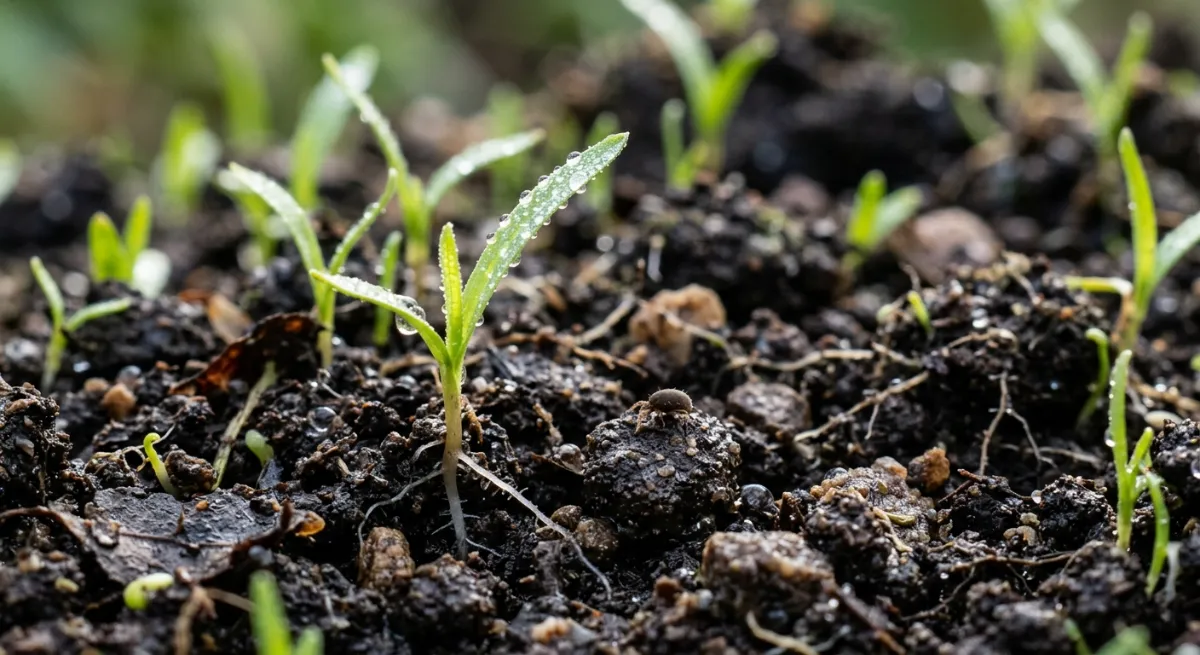
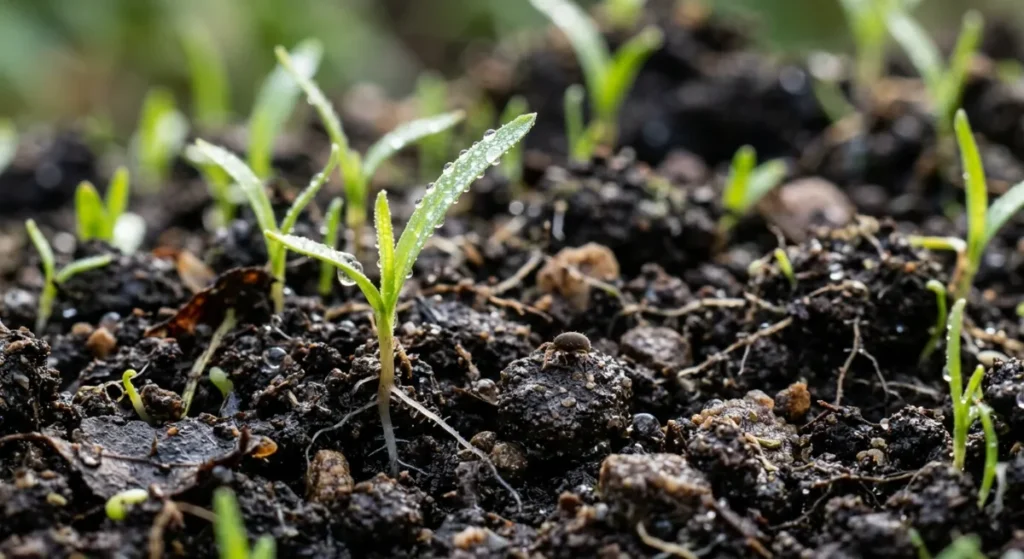
Once the soil is breathing, spread a thin, even layer of premium lawn topsoil or fine compost over the area. This provides a nutrient-rich, moisture-retaining bed for the seeds to nestle into safely. Avoid using cheap garden mix, as it often contains weed seeds and large bark chunks that hinder grass growth.
Sow the seed evenly according to the manufacturer’s recommended spread rate, usually around 30 to 50 grams per square meter. For the best, most uniform coverage, spread half the seed walking vertically across the lawn, and the other half walking horizontally. This cross-hatching technique prevents unsightly bare stripes from forming as the grass matures.
For the best, most uniform coverage, spread half the seed walking vertically across the lawn, and the other half walking horizontally. This prevents unsightly bare stripes from forming.
Selecting the Right Seed: Rye, Fescue, and Couch Grass for Auckland Soil Types
When looking for Lawn Repair & Reseeding Advice, many homeowners wonder why their hardware store seed failed so spectacularly. The answer usually lies in choosing the wrong grass species for their specific microclimate. Auckland features a diverse range of microclimates, from the damp, shaded Waitakere ranges to the sun-baked coastal slopes of the North Shore.
Perennial Ryegrass is the most popular choice for fast establishment and high-traffic residential areas. It germinates rapidly in just 7 to 10 days and provides a brilliant dark green color, making it perfect for active families who need quick results. It is also highly tolerant of the heavy wear and tear caused by children and pets, which is why it is frequently utilized in our Commercial Grounds Contracts to maintain high-traffic business lawns.
However, Ryegrass requires consistent watering and struggles noticeably during Auckland’s dry, restricted summer spells. If your property bakes in the afternoon sun and you lack an irrigation system, you may need a more resilient, deep-rooting option.
Tall Fescue is an excellent, premium alternative for Auckland’s notorious clay-heavy soils. It develops a deep, robust root system that can reach up to a meter underground, allowing it to seek out moisture during extended droughts. While it takes slightly longer to germinate than Ryegrass, its long-term survivability is vastly superior in harsh conditions.
For coastal properties or areas with highly sandy soils, warm-season grasses like Couch or Kikuyu are highly effective. While they go dormant and lose some of their vibrant color in winter, their aggressive spreading habit makes them practically indestructible during the brutal summer months. They naturally self-repair by sending out runners to fill in bare patches automatically.
Always check the label on your grass seed. Cheap hardware store blends often contain high amounts of annual ryegrass, which looks great initially but dies off permanently after one season.
Post-Sowing Care: Watering Schedules and Mowing Rules Approved by Professional Greenkeepers
Once the seed is securely in the ground, precise moisture management becomes your single most important daily responsibility. The soil must be kept consistently damp, but never waterlogged, until the seeds fully germinate. If the seeds are allowed to dry out mid-germination, the biological process stops permanently.
For the first two weeks, this usually means watering lightly with a fine mist two to three times a day. If the top layer of soil dries out completely in the afternoon wind, the fragile germinating seeds will die within hours. Setting up an inexpensive automated tap timer can take the stress out of this rigorous watering schedule.
Following professional Lawn Repair & Reseeding Advice ensures that your new grass transitions safely from a vulnerable seedling to mature turf. Once the grass reaches about 2 centimeters in height, you can reduce watering to once a day. At this stage, you should soak the ground more deeply to encourage the roots to grow downward in search of moisture.
Mowing a newly seeded lawn too early is a fatal mistake that ruins weeks of hard work. You must wait until the new grass blades are at least 6 to 8 centimeters tall before introducing a heavy lawnmower.
Ensure your mower blades are razor-sharp; dull blades will rip the fragile seedlings cleanly out of the soil instead of cutting them. Never remove more than one-third of the grass blade height in a single mow, as this causes severe physiological stress to the young plants. Keep the mower deck raised to its highest setting for the first three cuts.
Troubleshooting Failed Reseeding: Managing Clay Soil Compaction, Birds, and Weed Infestations
Even with perfect preparation and expensive seed, nature can sometimes interfere with your lawn restoration efforts. Understanding how to troubleshoot common environmental setbacks is crucial for long-term landscaping success. Recognizing the early warning signs of failure allows you to pivot and correct the issue before the entire project is lost.
The most critical piece of Lawn Repair & Reseeding Advice for Auckland soils is managing heavy clay compaction. If water is pooling on the surface for hours and seeds are rotting, you must incorporate gypsum and coarse sand into the topsoil. This chemical and physical intervention breaks up the dense clay structure, improving vital drainage.
Birds are another major obstacle, as they view a freshly seeded, bare lawn as an all-you-can-eat buffet. If you ignore basic Lawn Repair & Reseeding Advice, you risk feeding the local bird population instead of growing a beautiful lawn. Sparrows and mynahs can strip a newly seeded patch bare in a single afternoon.
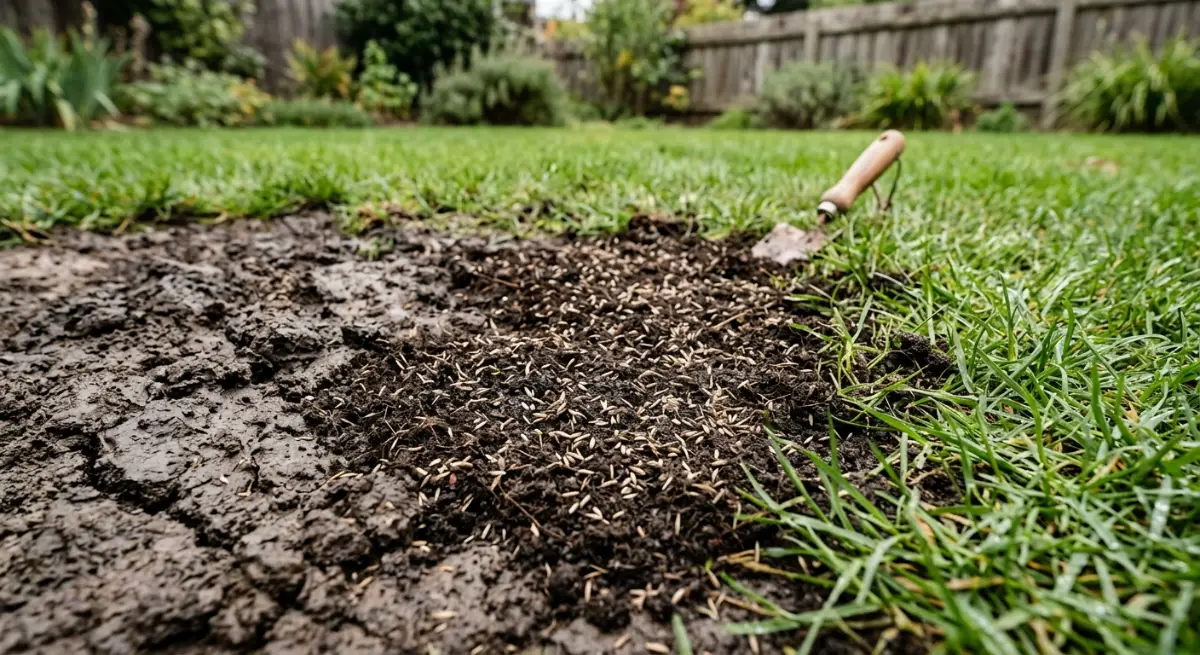
To deter hungry birds, cover the seeded areas with a very light dusting of topsoil or use specialized green bird netting suspended slightly above the ground. Reflective tape strung between garden stakes or decoy predators can also help keep pests at bay during the vulnerable 14-day germination window.
Finally, aggressive weed competition can quickly choke out young grass before it has a chance to establish dominance. Because you cannot use chemical weed killers on newly sprouted grass without killing it, manual prevention is the best strategy. Ensure your imported topsoil is certified weed-free before sowing.
Manually pull any broadleaf weeds that emerge alongside your grass, taking care not to disturb the surrounding turf roots. Once the new lawn has been mowed three or four times and is fully established, you can safely apply a selective broadleaf herbicide to clean up any remaining invaders.